Tuesday, March 13, 2018

Clearsnap | Masked Stamping | One Layered Card

Hi there friends! Crystal here with a colorful card using Colorbox Teresa Collins Petal Point inks. 
This card is a mail friendly, one layer beauty that does not require extra postage. 

To begin, I have the following supplies:
Colorbox Teresa Collins Petal Point in Dye and Pigment Ink
Colorbox Smooch 
Pinkfresh Studio Bird With Flowers Stamp Set
Pinkfresh Studio Dainty Botanicals
Scrap piece of paper to use as a mask

 To begin, I have cut a piece of cardstock the same length as my sentiment to place over it once I had stamped it.

 Using the "thank you" from Pinkfresh Studio' Bird with Flowers I inked it up with the black pigment ink from Teresa Collins Petal Point.
 Now it's time to start stamping the florals from Pinkfresh Studio Dainty Botanicals. 

The leaves were stamped with Colorbox Teresa Collins Petal Point in the green shade. I was careful not to stamp over the sentiment as I will be placing the cardstock mask over with temporary adhesive.

Place mask to protect the sentiment

Moving on to the next color from the dye ink petal point, I stamped these in the pink shade.
 These botanical were stamped on the corner edges of the card panel.

 Moving on to a darker shade, the orange from the dye ink petal point was stamped closer to the center of the card.


To add a bold touch, we continue to use a different botanical with the blue shade of dye ink from the Teresa Collins Petal Point


To fill in the empty spaces of the card, I used the smallest stamp available and stamped that with the blue.

Once the ink had dried, I removed the mask from my sentiment.
 
To add some pearl accents, I got my Smooch out and placed several dots around the empty spaces of the card.


Wasn't this quite simple to make. I think masking the sentiment helps keep the card more of a clean and simple style.


Thank you so much for joining me today. 

Crystal 

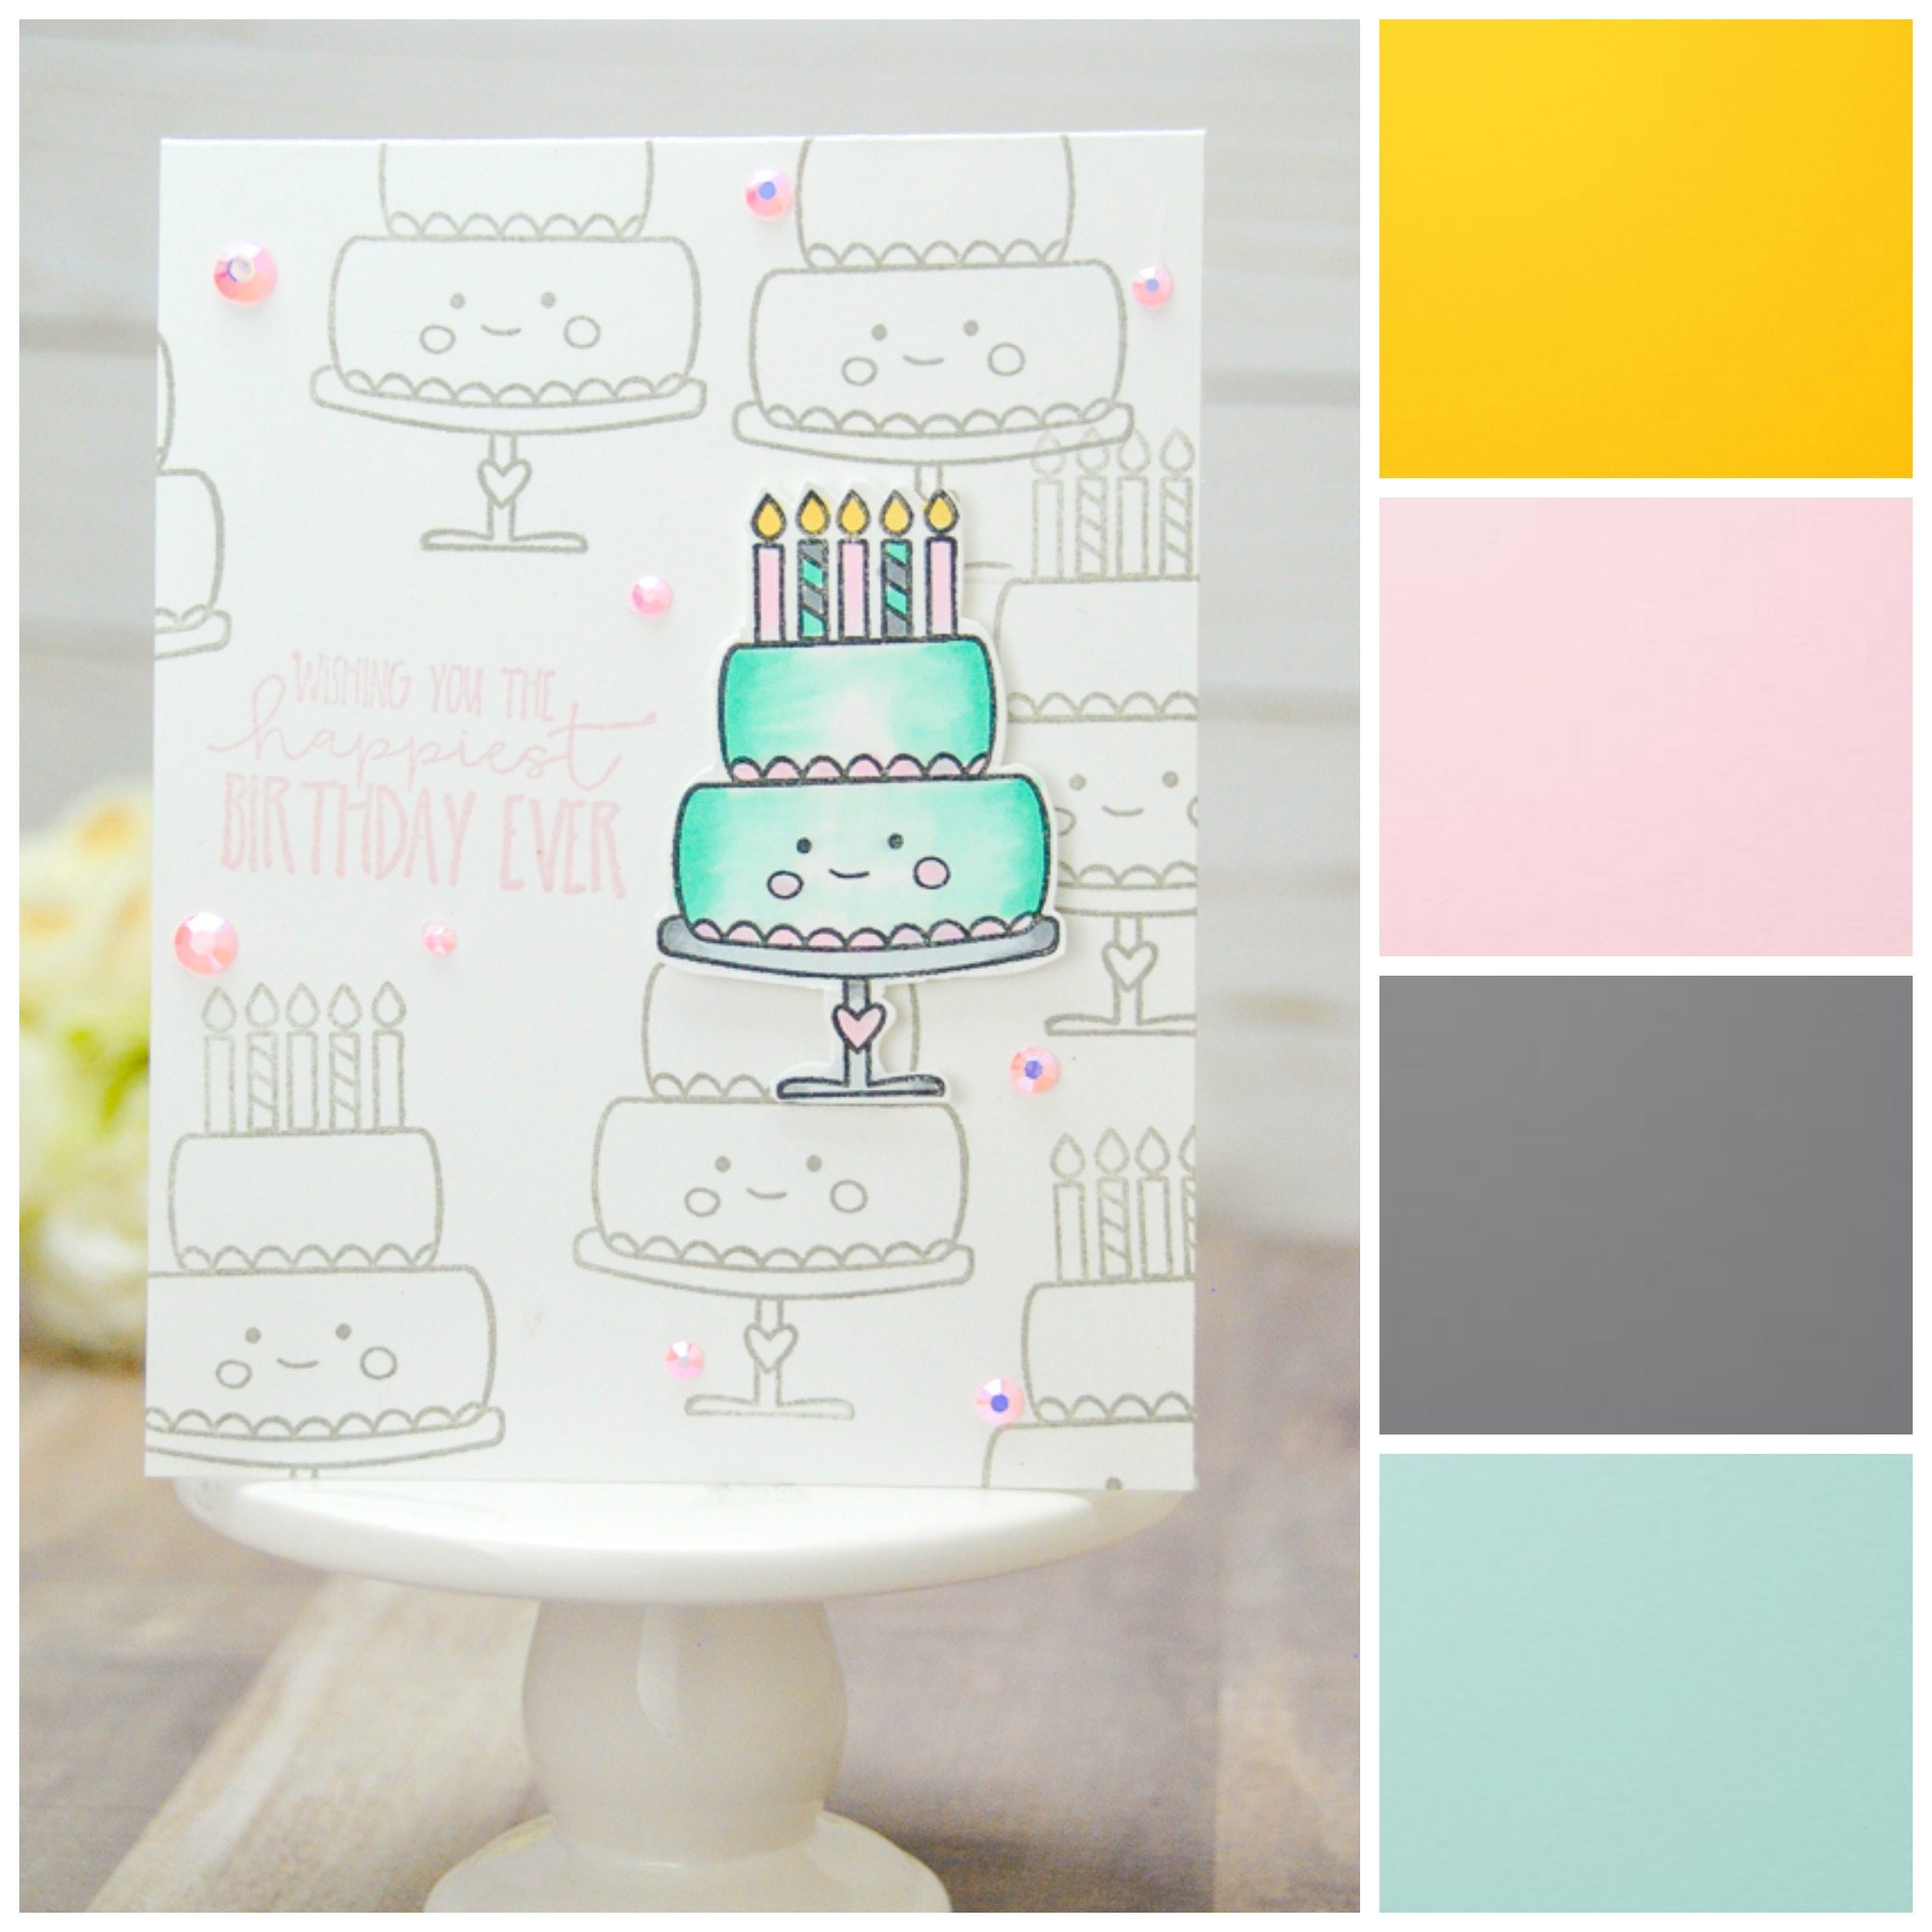
Unity Stamp Company | Color Combo Tuesday | So Glad You Were Born

Hey friends! I am here  with another trusty Color Combo for this Tuesday!

My inspiration came from wanting to use a soft pallet of colors, that would be suitable for any occasion, and since I am craving for Spring this combination seemed very cheerful. 

The colors for this card are as follows: (please note you can use ANY brands, I am just giving you what I used )

Stampin' Up:

Daffodil Delight

Pink Pirouette

Daffodil Delight

Smoky  Slate


Now to the real important stuff, the stamp set of course! I am using Unity Stamp Company's So Glad You Were Born. 


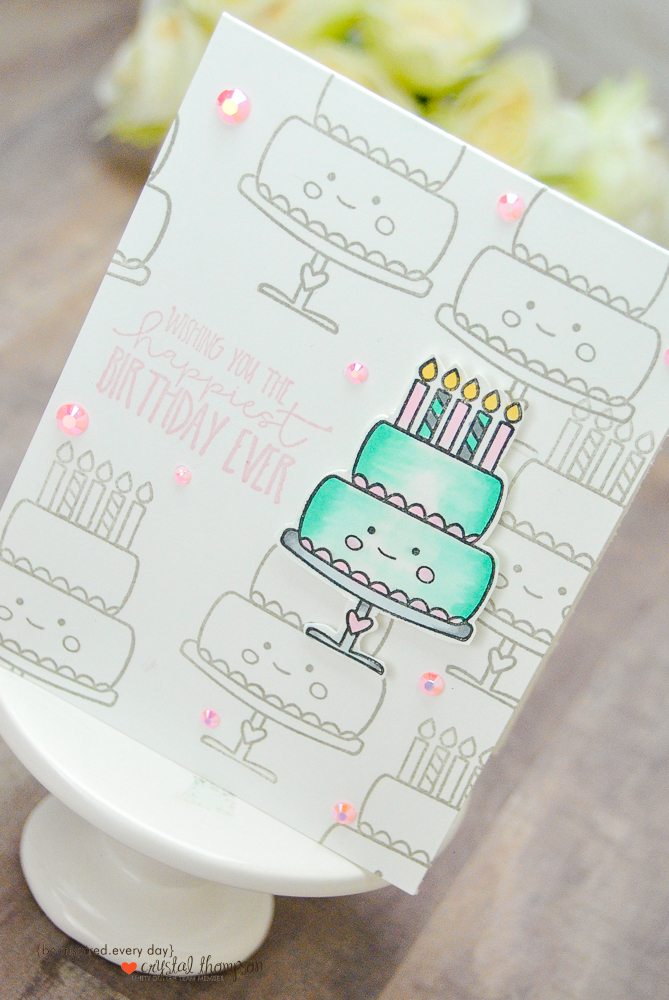
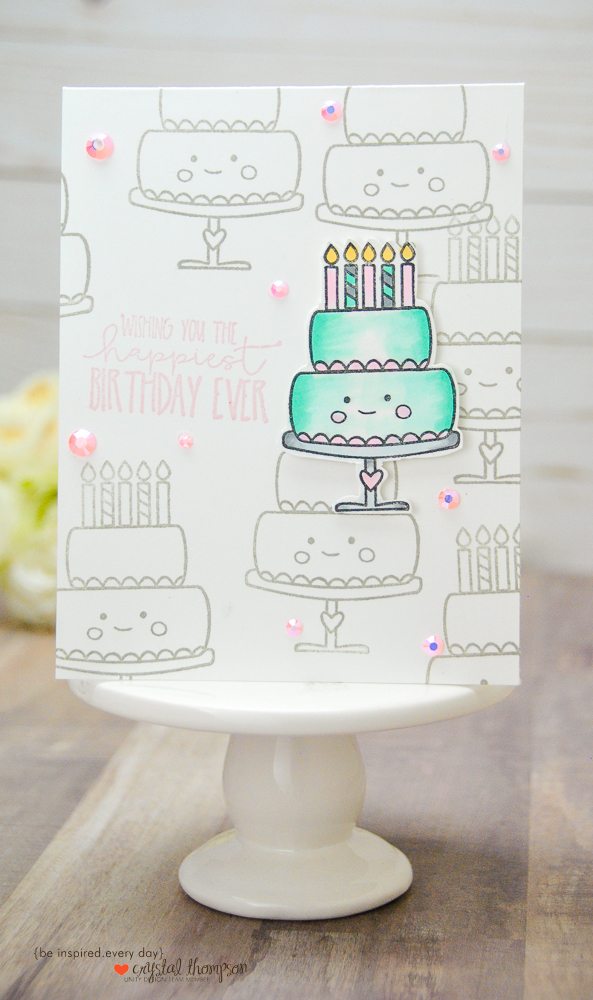
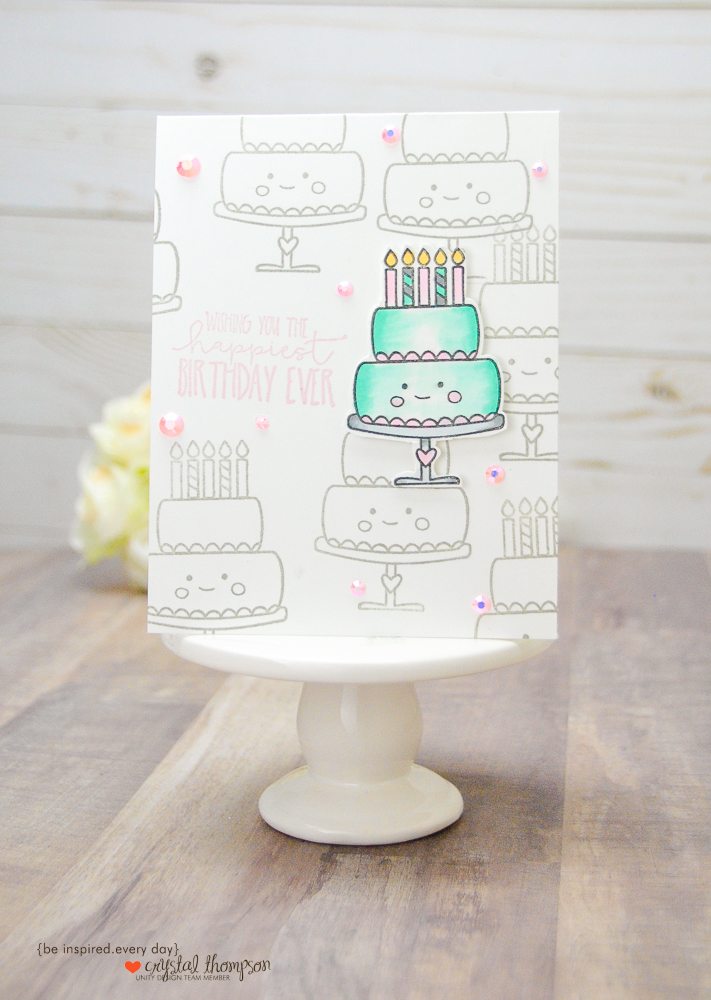
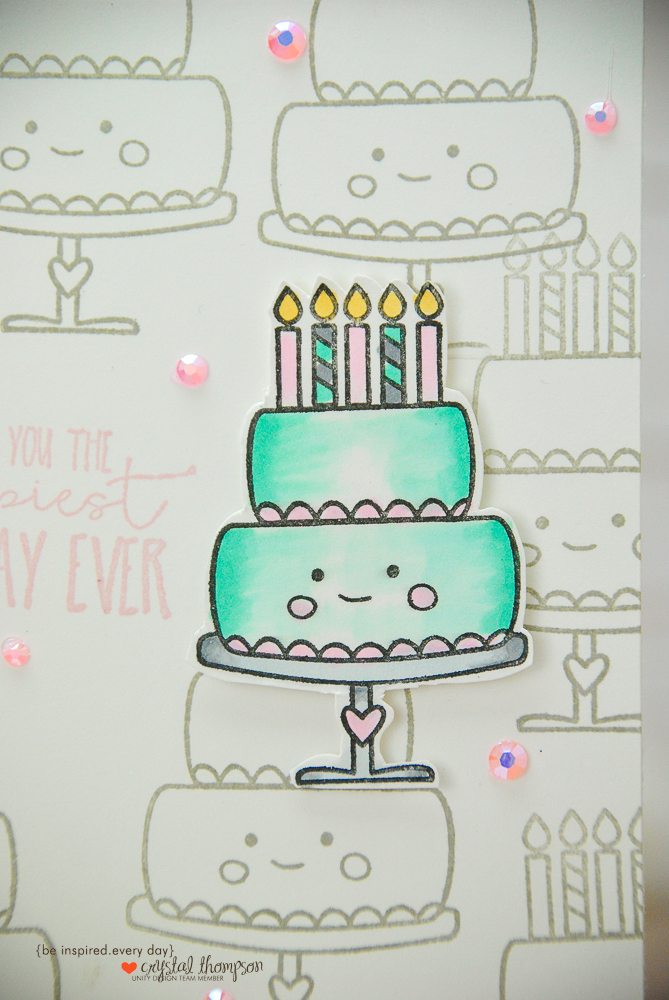
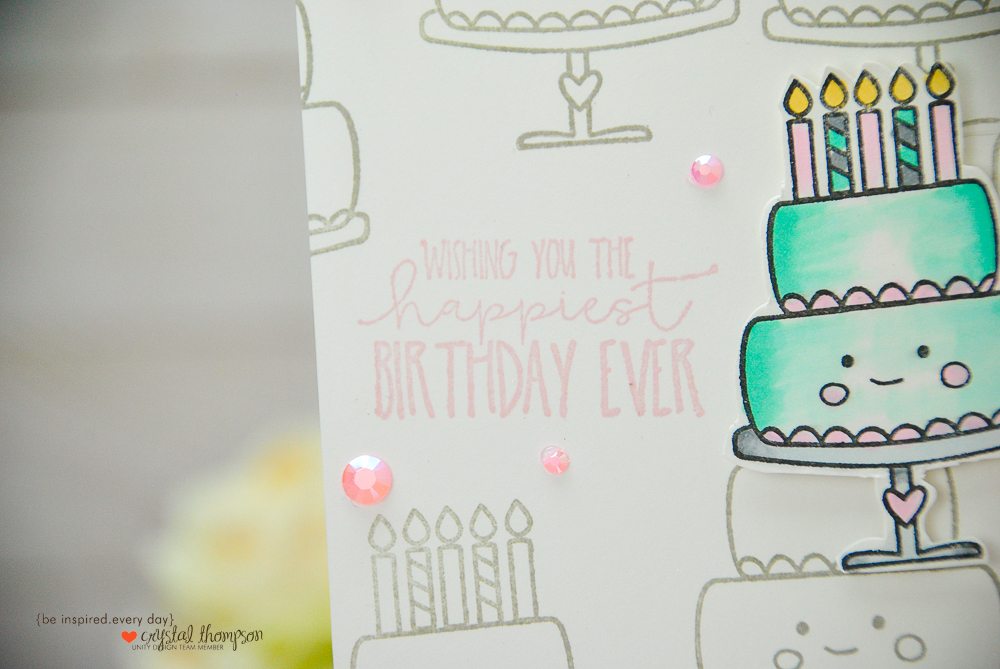
To make this card, I stamped the sentiment first in Pink Pirouette. Stamped the birthday cake repetitively on the card base using Smoky Slate.


On a separate card stock, I stamped the super cute cake. Colored with my Copics, and cut around it!


Using foam adhesive, it was placed next to the sentiment.


To finish off I used Pretty Pink Posh jewels, that matched the Pink Pirouette color!

Of course I made a video while I made this card.

https://youtu.be/vByRGY9u7fU

I feel I can show you, better than I can tell you.

What are your thoughts on this color combination?

Hugs,


Crystal

ps. Here is the link to the stamp set used on this card: https://www.unitystampco.com/so-glad-you-were-born-february-2016-sentiment-kit/

Monday, March 12, 2018

Unity Stamp Company | March New Release Blog Hop

Hey Guys! Welcome to my stop of the March Release for Unity Stamp Company.

I created this fun card with the new Drink Wine & Feel Fine Set. 


I wanted to make a card that would make my best friend laugh. 


To make this card, I trimmed a card panel from a purple cardstock. Then trimmed a white cardstock where I stamped the sentiment.


I then stamped the wineglass and bottle, colored with Copics, trimmed and placed on the card with foam adhesive.


To make the wine on the bottle and glass, I swirled two colors of Nuvo drops.


I of course can show you better and I can tell you! Check out my video with a full tutorial!!

https://youtu.be/UAkHl-s7hhg


We have TWO amazing Unity filled prize packages to giveaway. Leave a comment on EACH blog in the hop for your chance to win.
— PRIZE WINNERS WILL BE ANNOUNCED MONDAY NIGHT —

Did you check out the video? Please do!!!


Hugs,

Crystal

Friday, March 9, 2018

Winnie & Walter | Re-Run Challenge | Welcome to the Family with Evelin T Designs

Hi there friend! I have a quick post today because I wanted to tell you about Winnie & Walter's March Re-Run challenge! This month's featured stamp set is Welcome to the Family with Evelin T Designs. 


Now if you are wondering what the "re-run challenge" is? Well, it's simply a challenge where a stamp set previously releases is featured and placed on sale.  The design team provides several inspirational projects. 

With that said, let me show you what I made for this month's Re-Run.

This clean and simple project was very simple with some copic coloring.


Now that I have told you all about this challenge I invite you to hop on over to the Winnie & Walter blog, check out the full tutorial video and join the fun. 

Click HERE

Hugs,

Crystal 

Wednesday, March 7, 2018

Altenew | Guest Designer | Blog Hop

Hi there friends! Welcome to my stop of the Altenew March 2018 release. You should of arrived here from Lilith Eeckels blog. I am so excited to be here and for this hop that is releasing some gorgeous stencils and washi and ink sprays!


I of course gravitated for the Stencils!


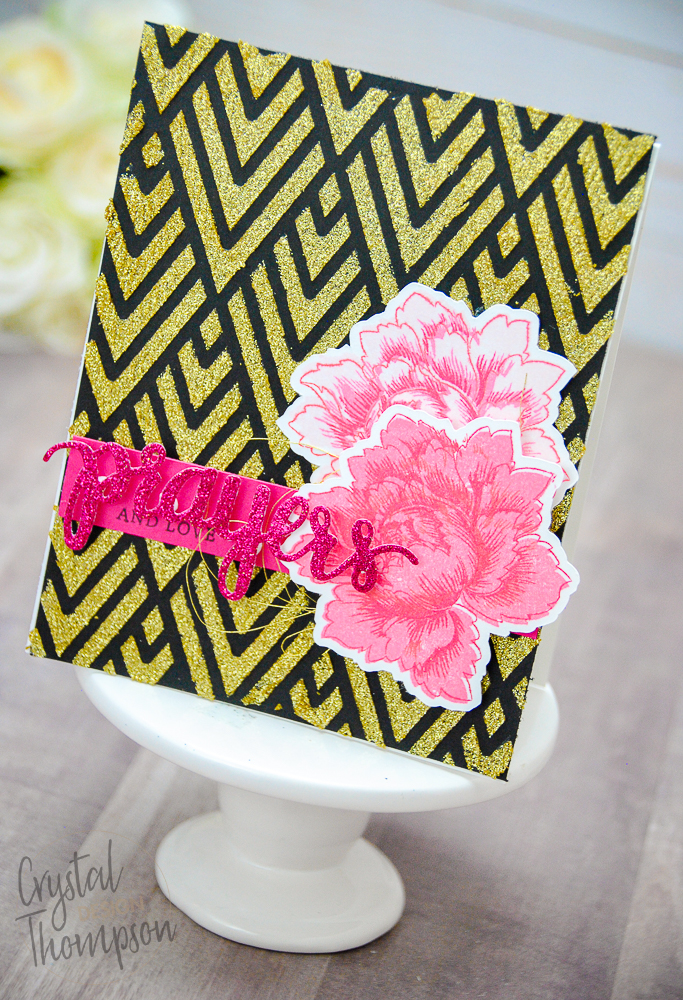
To start I have this vision of of gold using the newest Deco Wallpaper Stencil


This card was so much fun to make, that I made a pictorial of this card.

To begin, I am stenciling a piece of black card stock, 

I secured the stencil to my cardstock using washi tape.


Added gold glitter Bo Bunny Paste

Allowed to dry and remove stencil

Measure out a hot pink paper banner

Add sentiment, and layer flowers

Finish off with a die cut sentiment! 


Don't you love the boldness of the black gold and pink?! I sure do! 

For my second project, I have a fun ink blending creation. 

For this card, I used the Classy Stripes stencil, blended with Altenew Industrial Diamond and Silver Stone.. Stamped the sentiment,  then I splattered ALL of the sprays, placed my flower over that with foam adhesive. 
and last but not least I made this vision of pink with the Deco Wallpaper Stencil and Altenew range of pink inks! 

To make this, I began by placing my stencil over the card base and securing it down with washi tape. 

I blended the Altenew Frosty Pink

Next to the Frosty Pink, I blended Coral Berry

and lastly I added Ruby Red.


I then removed the stecil and stamped the sentiment using Pure Graphite.

Then I splattered the card with the Altenew Sprays in Jet Black, Metallic Silver, and Iridescent.


Once the sprays had dried, I placed a flower to the card with foam adhesive.


Which of these is your favorite?


Giveaway:
Of course there is a giveaway! 

To celebrate this release, Altenew is giving away a $50 gift certificate to SIX lucky winners! Please leave a comment on the Altenew Card Blog and/or Altenew Scrapbook Blog by Wednesday, March 14th for a chance to win. Six winners will be announced on the Altenew blogs on 3/17/2018.

In addition, I have a $30 gift certificate to Altenew up for grabs! I ask that you comment below and be a follower over on Instagram to be eligible to win! (I will check) My handle is @crystal_thompson_design . The winner will be selected and contacted on March 16th, 2018.

Now back to the blog hop!  Your next stop is Therese Calvird, the line up is below just in case you get lost!


Thanks so much for joining me today! Have an awesome day!! <3
Crystal 

Tuesday, March 6, 2018

In My Garden | Color Combos with Crystal

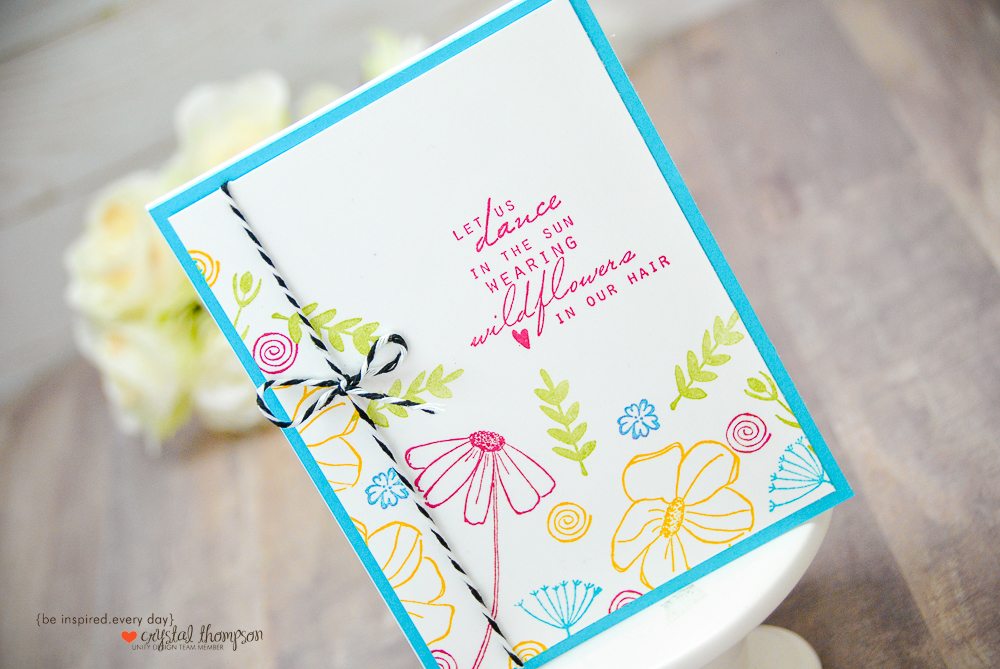
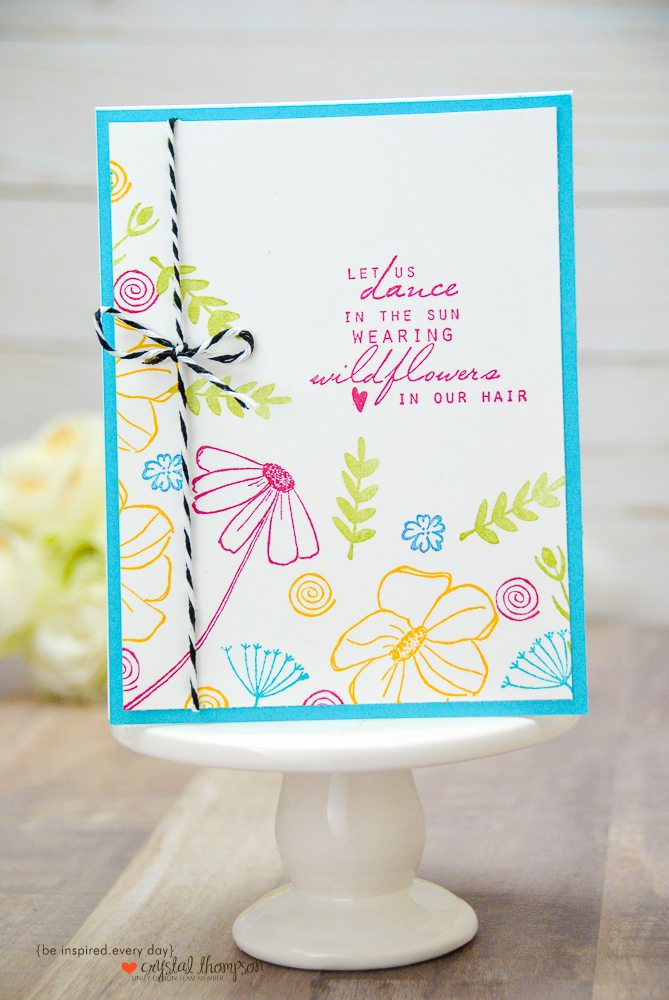
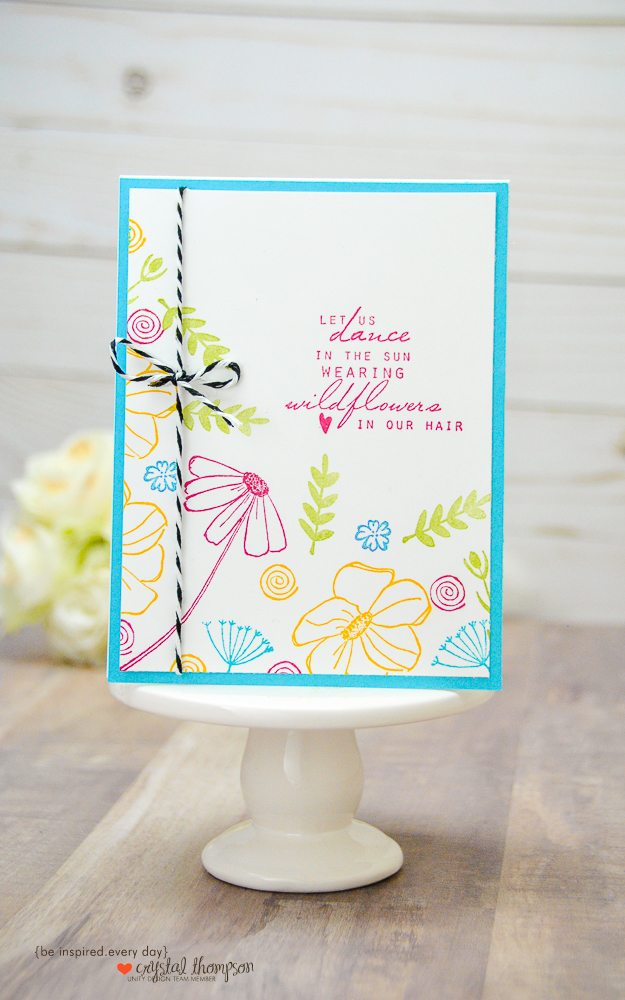
Hi there friend!Today I am here with a super bright color combo for my first post of March. This card has a selective corner edge stamping in order to prevent the sentiment from being "washed out" by the floral stamping.

In My Garden-Color Combos with Crystal

The colors selected for this card are from Stampin' Up and are as follows:

Tempting Turquoise,

Rose Red

Crushed Curry

and Pear Pizzaz

To make this card, I have pre-cut my Tempting Turquoise card panel to sit over my card base. Then my white cardstock was trimmed .25 inches smaller than the card panel, so it would layer nicely.

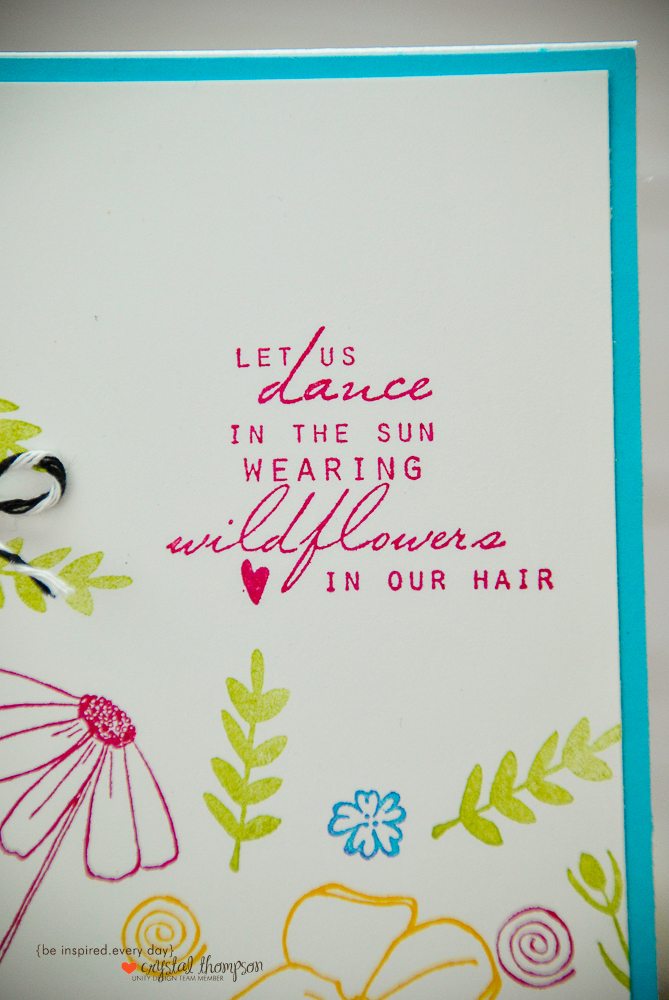
Using Rose Red, I stamped the sentiment then proceeded to stamp the largest flower from In My Garden to serve as my centering point. I could of easily drawn a line with a pencil to be sure I wouldn't go over that line.

In My Garden-Color Combos with Crystal

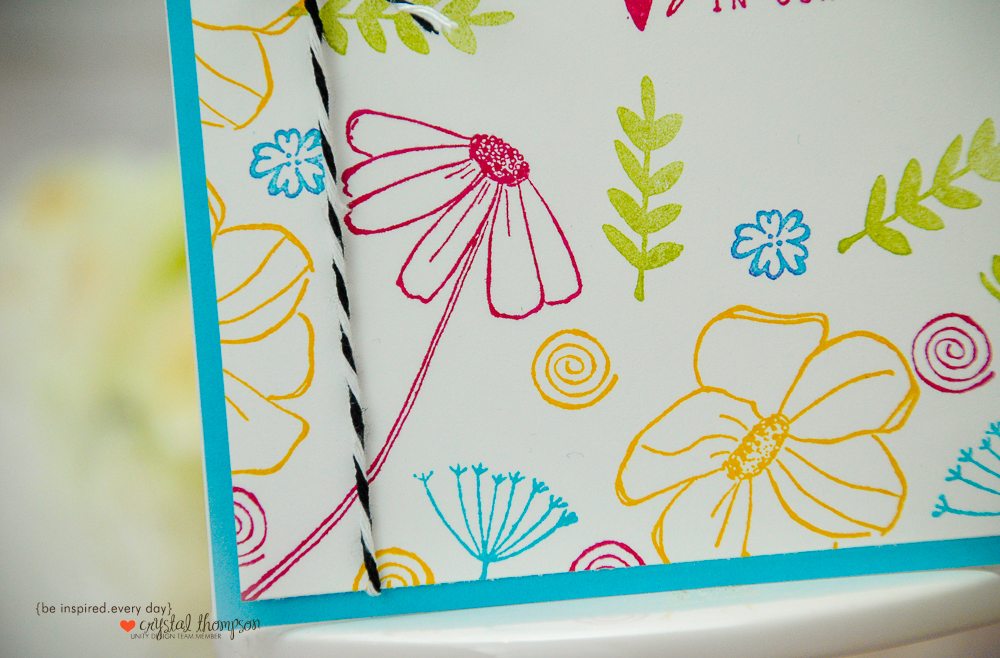
With Pear Pizzaz, I stamped the leaves being sure to follow my "line". This would also serve as a guide not to go over.

In My Garden-Color Combos with Crystal

Continuing on with the second largest of the flowers from In My Garden; I stamped those using Crushed Curry. I like to stamp the edges of the card panel as it gives the finished product a "printed" feel. To fill in some of the empty spaces in the card, smaller flowers and circles were stamped in the same coordinating colors.

In My Garden-Color Combos with Crystal

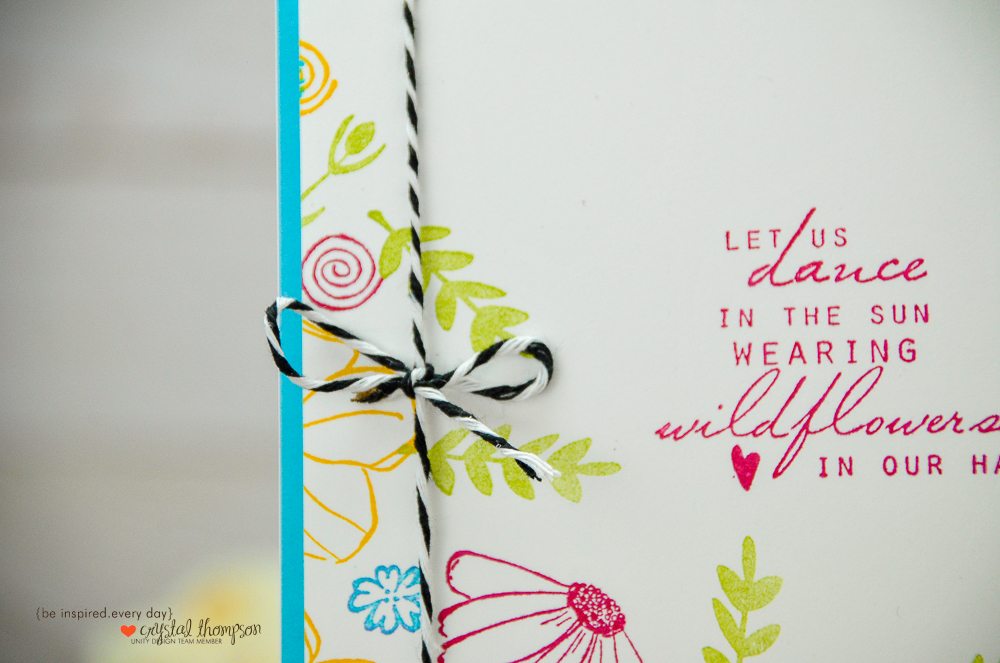
Once everything is dried up, it is time for some twine. Attaching the twine to the back of the card using tape, and tying a bow on the front.

In My Garden-Color Combos with Crystal

Once the bow was done and set, I added adhesive to the white card panel and placed it over the tempting turquoise card base.

In My Garden-Color Combos with Crystal

The selective corner stamping really provided a nice base for the sentiment, and not over shadowing its beautiful message. I think this card would be great for a "hello" or "just because" card that any friend would love to receive.

We hope you liked this card! I will be using the In My Garden stamp set for another color combo post this month.

Thanks so much for joining me. Have a great rest of your week!