Hi guys, happy Sunday! Today I have part 3 of 4 from the Strech your Stamp series using Bohemian Backgrounds from Unity Stamp Company. This card features a 4 color ombre.
As always, there is a video to show you I made this card and the featured technique. Link will take you to Unity's Youtube
Hi, there friends! I hope you are staying cool on this gorgeous Summer day. Today I have a fun and simple project made especially for Pretty Pink Posh with lots of PPP goodies!
If you are wondering where are the instructions, I have something so much better! A super short video making this card. Of course, the coloring is not included as I did that this past weekend while we watched a movie.
Hi friends, Crystal here with a sympathy card. For me, sympathy cards are not the most enjoyable kind of card to make, however making them ahead of time can be easier.
I got my inspiration from the beautiful outdoors. The stamps are on the Simply Stamps website under craft stamps.
To make this card, I began by die cutting a piece of white card stock with a scalloped edge die. The sentiment was stamped in our darkest color used on this card. Next, using a silver ink color, stamp the leaves on the die cut card stock, to get the shadow effect continue stamping without re-inking. Set aside to dry.
Next we will stamp the card base. Start with the darkest color and continue stamping without re-inking. I stamped in a random pattern. Using a lighter green, I did the same step as before. Glitter washi tape was added to the top die cut and using adhered to base with foam adhesive.
To finish, I used a light blue marker and marked around the edges.
Hello there! Crystal here with a fun, summer inspired card for SimplyStamps.com! This card was easy to make, and the main focus is the beautiful pineapple stamp.
To make this card, I stamped the image on white card stock and fuzzy cut that. Then using a rectangle die, I ran that through my Sizzix Big Shot. Acetate was added to the large panel and the "thanks" sentiment was added to the front panel. The pineapple was adhered to the smaller rectangle die cut, To create a window effect, I used foam adhesive on the back of the large panel and placed everything together onto the card base.
The reason this is a "shaker less" window card is because there are no sequins or confetti in the window. Below is a video of this card being made! I hope you share your creations with me. On Instagram be sure to tag #simplystamps.
Hello there Simply Stampers, today I am here with a fun card that can be made using a few supplies and a stamp available on the SimplyStamps.com site. Let’s get started!
First, I began with trimming and mounting the stamp onto the wood block.
Next, trim all the cardstock to be used on the card. My background is patterned paper from Lawn Fawn and trimmed to 4.25in x 5.50 in.
Using a coordinating piece of pink cardstock trimmed 1 centimeter smaller than my patterned paper, then trim the white piece 1 centimeter smaller than the pink to be matted.
Stamp the white cardstock with 6 donuts in a light brown ink, and an extra donut on a separate sheet.
Using copic markers RV10 and RV32 to color the
frosting pink. Then color the donut in E11 and E15.
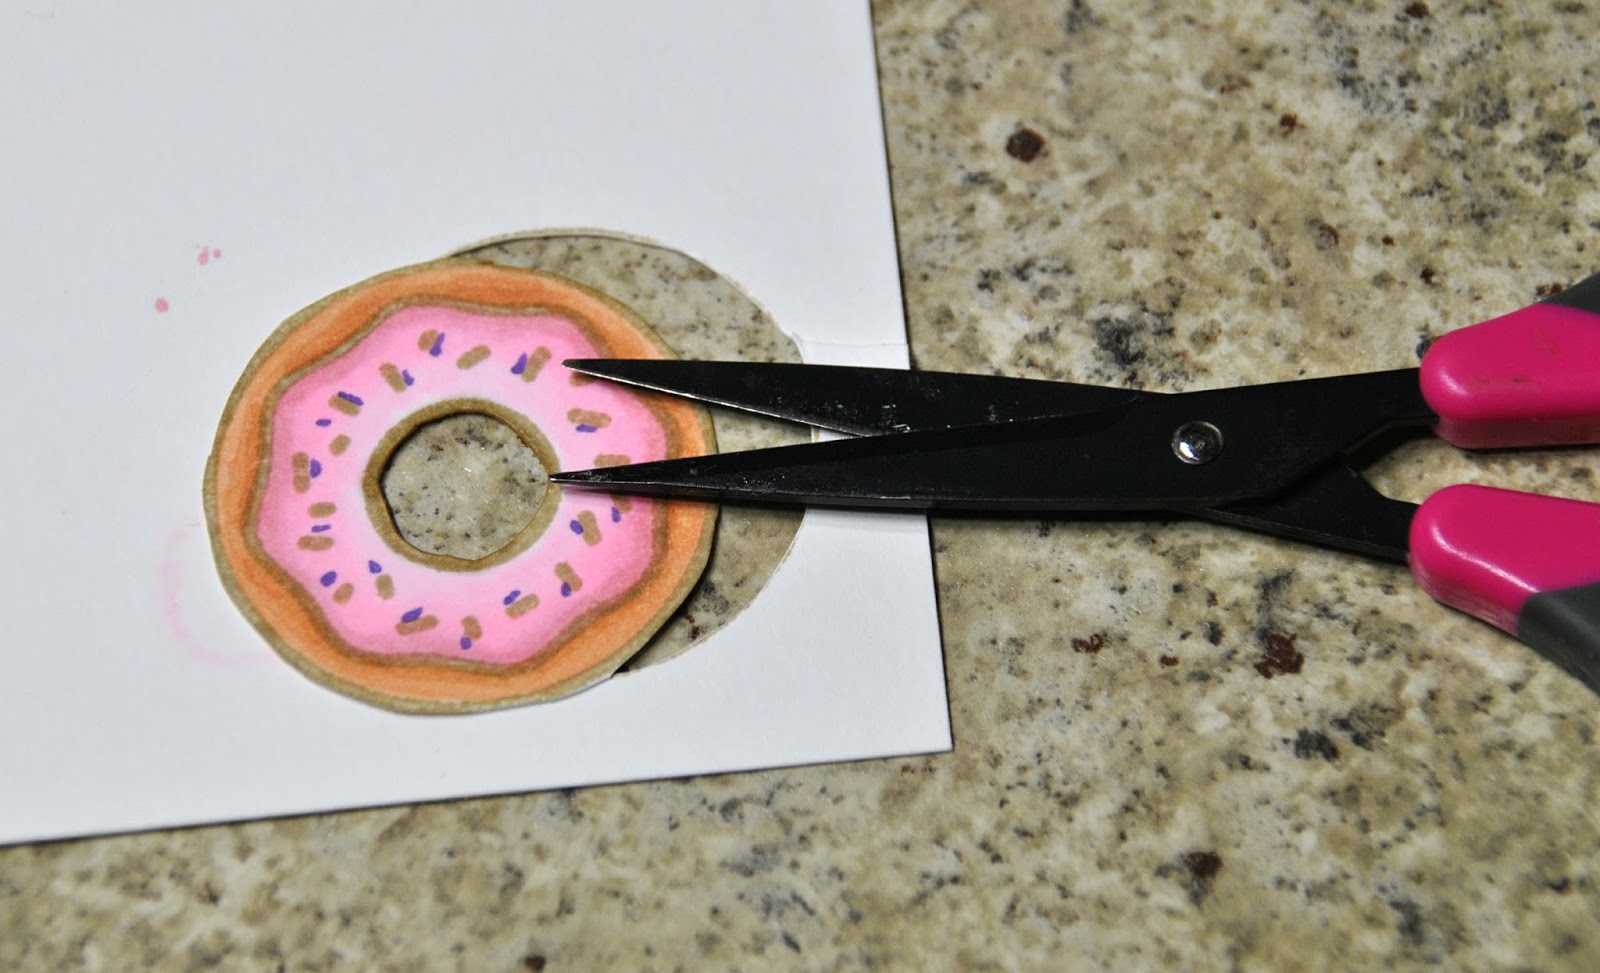
Once dried, fuzzy cut the donut.
On a black piece of cardstock heat emboss the sentiment.
Using 3D foam adhesive, adhere the donut and the sentiment onto the white cardstock.
With Glossy Accents, embellish the frosting. Once that is dried, your card is ready to be sent out.
Hope you like it, I particularly like stamps that can be used with various sentiments.